
Have you seen the compose button in the Gmail or Twitter app on your iPhone and wondered how you can make a button that just floats in your view? Well, in this tutorial I will be showing you how you can create that button programmatically in few simple lines of code.
1- Create the UIButton programmatically in your view controller, give it a title, and a background color, like this:
let floatingButton = UIButton()
floatingButton.setTitle("Add", for: .normal)
floatingButton.backgroundColor = .black
You can also make your button circle by adding the following line below, but keep in mind that the corner radius value has to be half the width of the button, which will be setting later.
floatingButton.layer.cornerRadius = 252- Add the button to your view controller and set translatesAutoresizingMaskIntoConstraints to false. This will enable your to control the constraints of the button and disable the auto layout.
view.addSubview(floatingButton)
floatingButton.translatesAutoresizingMaskIntoConstraints = false
3- Now its time to add the constraints we want to the button to make it “float”. The first thing is to give the button a width and a height constraints like this:
floatingButton.widthAnchor.constraint(equalToConstant: 50).isActive = true
floatingButton.heightAnchor.constraint(equalToConstant: 50).isActive = true
Then if we want to center the button horizontally, then we would want to set its centerX anchor, and also if we want to pin it to the bottom them we would have to set the bottom anchor like this:
floatingButton.centerXAnchor.constraint(equalTo: self.view.centerXAnchor).isActive = true

floatingButton.bottomAnchor.constraint(equalTo: self.view.layoutMarginsGuide.bottomAnchor, constant: -10).isActive = true
I gave the bottom anchor a constant value of -10 to raise it a bit above the edge of the screen. If you run your app now you should see something like this:
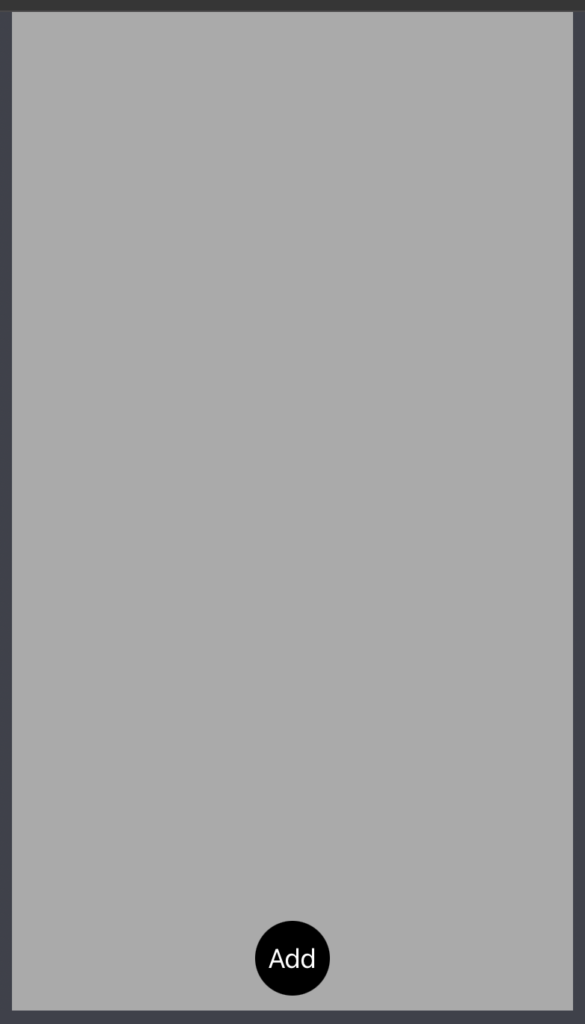
Now if we want to align the button to the left or the right of the view, then we would have to set a leading or trailing constraint like this:
floatingButton.trailingAnchor.constraint(equalTo: self.view.trailingAnchor, constant: -20).isActive = true
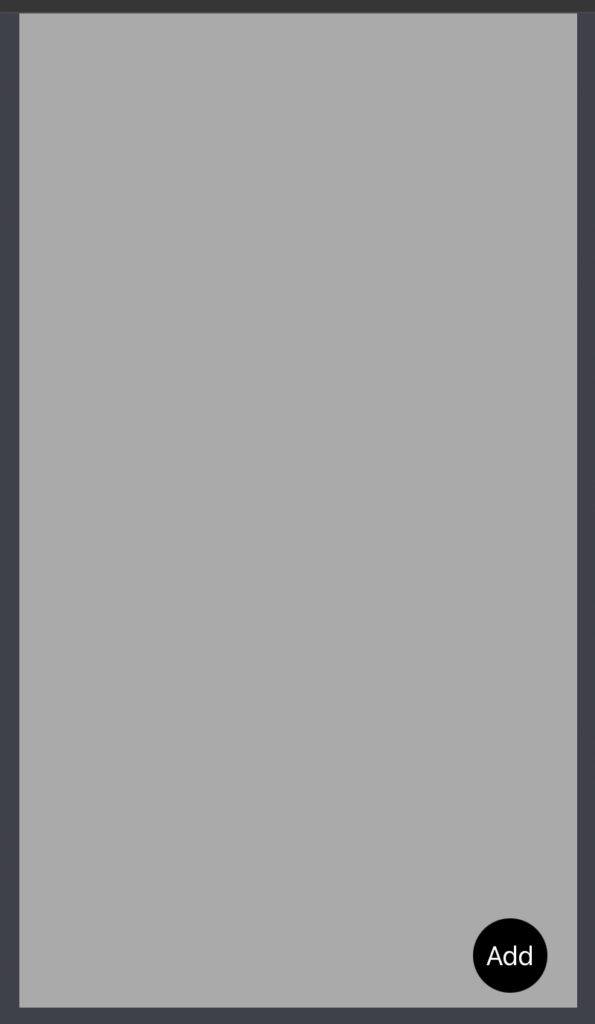
floatingButton.bottomAnchor.constraint(equalTo: self.view.layoutMarginsGuide.bottomAnchor, constant: -10).isActive = truekeep in mind that you won’t need the centerX constraint anymore and you will replace it with a trailing or a leading constraint as you can see above. Run your app now and you should see the following:
There are so many possibilities that you can do with a floating button, and many more adjustments you can add. But this basic tutorial was aimed to only getting you started.
Below you will find the full source of the playground used in making this tutorial. Feel free to copy that into a new playground and experiment with it.
Thanks! – Kais
import UIKit
import PlaygroundSupport

class MyViewController : UIViewController {
    override func loadView() {
        let view = UIView()
        view.backgroundColor = .lightGray
        self.view = view

        let floatingButton = UIButton()
        floatingButton.setTitle("Add", for: .normal)
        floatingButton.backgroundColor = .black
        floatingButton.layer.cornerRadius = 25

        view.addSubview(floatingButton)
        floatingButton.translatesAutoresizingMaskIntoConstraints = false

        floatingButton.widthAnchor.constraint(equalToConstant: 50).isActive = true
        floatingButton.heightAnchor.constraint(equalToConstant: 50).isActive = true

        floatingButton.bottomAnchor.constraint(equalTo: self.view.layoutMarginsGuide.bottomAnchor, constant: -10).isActive = true

        floatingButton.trailingAnchor.constraint(equalTo: self.view.trailingAnchor, constant: -20).isActive = true
       //floatingButton.centerXAnchor.constraint(equalTo: self.view.centerXAnchor).isActive = true

    }
}
// Present the view controller in the Live View window
PlaygroundPage.current.liveView = MyViewController()
this was incredibly helpful, thank you!!
Amazing! So simple and yet functional. Great job ????